
invoicing
Creating an invoice
Create, send and mark invoices paid — with VAT, line items and overdue tracking.
Last updated 12/09/2026
Invoices record money owed to you. This guide walks through creating, managing and reconciling them.
Before you start
You need at least one client (under Clients → Practice clients) and optionally a chart of accounts set up.
Creating an invoice
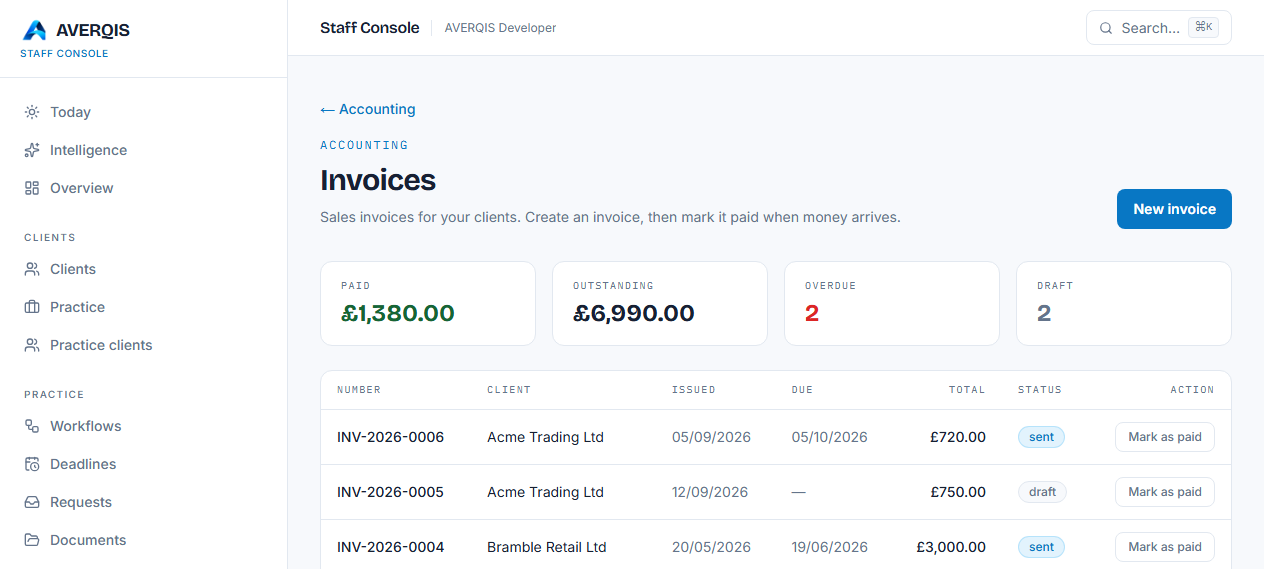
- Go to Accounting → Invoices.
- Click New invoice.
- Search for the client — start typing the name and pick it from the results (works even with hundreds of clients).
- Set the invoice date and, optionally, a due date.
- Add line items:
- Description — what the charge is for.
- Quantity — number of units or hours.
- Unit price — the price before VAT.
- VAT % — the applicable rate (defaults to 20%).
- The line total and running totals update as you type.
- Add more lines with + Add line, or remove them.
- Click Create invoice.
After creating
- The invoice appears in the list as draft.
- When money arrives, click Mark as paid on the row — it moves to paid and records the payment time.
- Invoices past their due date automatically show as overdue in the dashboard and reports.
Statuses
- draft — created but not yet issued.
- sent — awaiting payment.
- overdue — passed its due date and still unpaid.
- paid — money received.
- cancelled — voided.
VAT
VAT is calculated automatically from each line's rate. The total is:
- Subtotal — the sum of line amounts before VAT.
- VAT — the tax on those lines.
- Total — subtotal plus VAT.
Tips
- Use Notes to record anything about the invoice.
- Convert a sent estimate into an invoice instead of retyping it (see the Estimates guide).
- Reconcile a paid invoice against your bank feed to keep the books straight.
Related
- [Estimates](/guides/estimates)
- [Reconciling your bank](/guides/reconciling-your-bank)